
How to Boost in Airframe Ultra
Spend canisters, not chassis. Ultraboost is a glide, Hopper goes up, Cruiser stays on the ground.
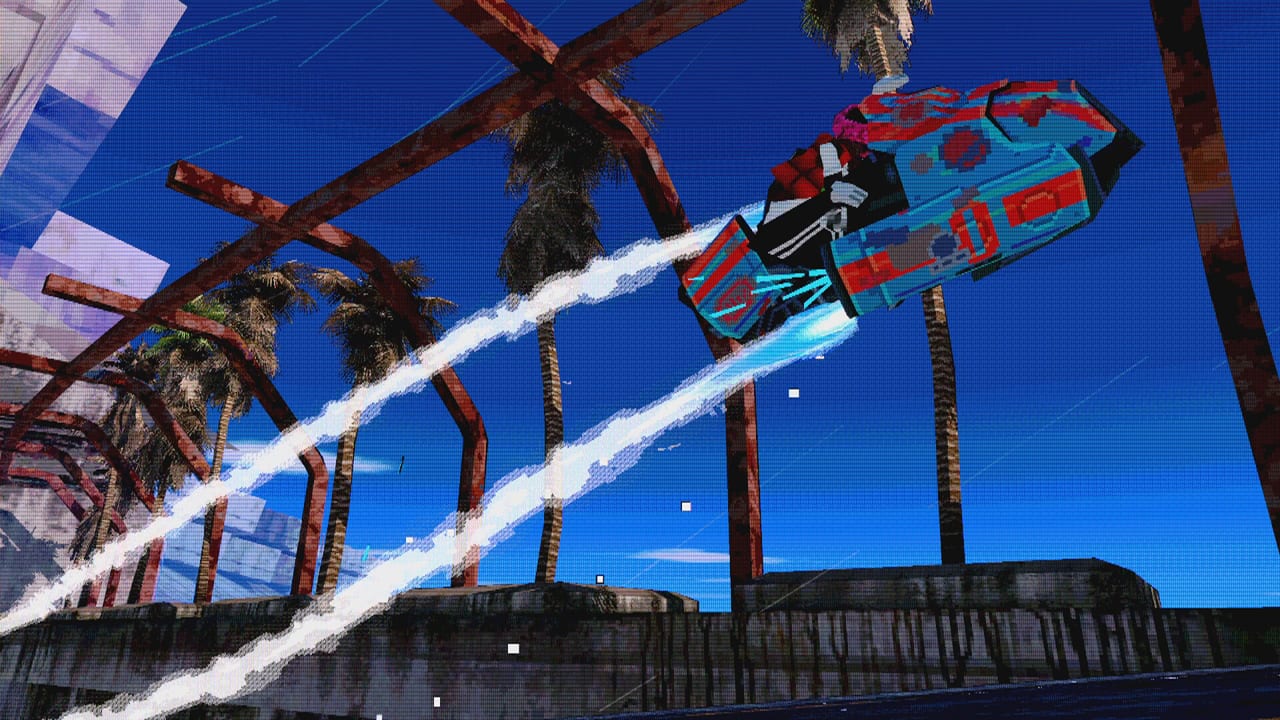
Boost is the whole personality of an airframe. Videocult did not give you a nitro button that is the same on every bike. Coolant canisters are the safe currency. An empty tank still boosts, but that dry-boost spends airframe health. Stacking boosts compounds. Holding high speed overheats the chassis and starts chewing the same health bar. Learn this page before you blame Vector for exploding. Then compare numbers on the airframe comparison tool and the airframe tier list.
A gamepad helps because analog throttle is how you stay under the heat line between boosts. Keyboard is full demand. Either way, boost is a tap, not a hold-to-win key. If you mash it like a panic sprint, you will stack yourself into a wall or a dry-boost you cannot afford.
Coolant versus dry-boost
A coolant canister is a boost charge. Bluntnose, Cruiser, and Hopper spawn with three. Vector spawns with five and receives double from pickups. Canisters sit on the course, trail the leader, and drop when an airframe dies.
Press boost with a charge and you get the chassis-specific shove plus a heat dump. Press boost with zero charges and you dry-boost: a weaker shove, smoke on the model, and a chunk of bike HP gone. Approximate dry-boost taxes from the betas: Cruiser about 30% HP, Hopper about 34%, Vector a brutal slice near 60% from full. One Vector dry-boost often ruins handling. Bike HP is not rider HP. An exploded airframe respawns after a wait, which is a lost arena. A last-shove dry-boost on a healthy Bluntnose can be a decision. On Hopper at 1.6x incoming damage, it is usually a throw.
Compounding, contact, and overheat
Stacking boosts compounds. Two taps close together multiply, which is how people look like they skipped geometry — and how Vector veers if you boost during an active boost. Learn the duration: Cruiser is a long 1.5 seconds with little vertical, Hopper is short and punchy, Vector is a violent burst plus about 1.8 seconds of follow-through.
Grounded boosts hit harder than air boosts, but most extra speed dies when you slap the floor. Boost on the ground into a ramp or jump, then keep airtime. Brake-pitch the nose if the landing would pancake you; those rules sit on controls. Overheat is the other health tax. Hold high speed and the thermometer cooks, the bike slows, and the chassis takes damage. Boosting cools. Lifting throttle cools. Vector sits near 145 km/h and overheats in roughly 40 seconds without boost, then explodes if you keep it in the red. Bluntnose is the tutor: coolant to punch a gear, then ride.
Vector: ultraboost is a glide
Vector takes 1.3x damage, has a weak engine, and only exists to boost. Ultraboost is a ground-hugging glide that matches the surface angle so the burst spikes into the 280–300 km/h range. Too high and the same input can clamp you near 150 km/h. Too stacked, and the bike yaws into a crash. Brake as you fall onto a slope so the nose matches the ramp, then boost while skimming, not floating. Low ceilings on Ocean Drive and Estate slap Vector into the roof. Dry-boosting it is a last resort. Leave this bike until Bluntnose is boring, then read the tier list.
Hopper: the boost goes up
Hopper is the smallest chassis, takes 1.6x damage, and would rather leave the ground than kiss it. A light rider climbs to about 150 km/h in roughly 50 seconds; gear 8 sits near 205 km/h. The boost launches you upward — a gap tool, not a highway button. Dry-boost costs about 34% HP on a paper bike. Use coolant for jumps you planned, skip a fight you cannot win, then remount. Hopper rewards players who already know on-foot combat. It is a specialist star for a reason.
Cruiser: long, low, heavy
Cruiser takes 0.7x damage (about 30% less), is the heaviest airframe, and starts like a bus. Give it around 30 seconds and it is near 200 km/h. Gear 8 lives around 305. The boost lasts about 1.5 seconds with little vertical. You want tarmac. Front-heavy handling means brake-and-boost in the air can shove the nose down. Dry-boost is cheaper here, around 30% HP, but you still should not farm it. Cruiser’s job is to arrive at the arena with a bike that still exists.
Bluntnose remains the teacher: three coolant charges, no specialist star, ~50% pick rate, gears up to about 250 km/h. Practice order: Bluntnose coolant only, then one planned dry-boost, then Cruiser grounded pulls, then Hopper jumps, then Vector glides. Check tracks so you are not ultraboosting into Estate’s ceiling, and demo so the download still has the course you want. Open How to Play if you have not locked Standard body and the Rider Suit yet.
Frequently Asked Questions
Quick answers for racers still learning Megacity West.
What is the difference between a coolant boost and a dry-boost?
Coolant spends a canister and is the real boost. Dry-boost spends airframe health for a weaker shove. Vector in particular can throw away most of a healthy chassis in one empty tap.
Why does stacking boosts feel inconsistent?
Stacking compounds, and Vector can veer if you boost during an active boost. Wait out the chassis duration. Grounded boost into airtime keeps speed; slapping the floor dumps it.
How do I ultraboost on Vector?
Glide close to the ground, match the surface angle, and boost once. You want roughly 280–300 km/h, not a skyward hop. Compare Vector to the others on the airframe comparison.
Which bike should I learn boost on first?
Bluntnose. Three canisters, no specialist star, honest gears. Hopper launches up, Cruiser wants long grounded boosts, Vector is a glide exam. Rankings sit on the tier list.
Does overheat damage the rider?
It damages the bike. Rider HP is separate. An exploded airframe respawns after a wait, which is usually enough to lose the arena. Lift throttle or spend coolant to cool off.